

PVC Rolled Plastic Floor Installation Process
PVC floor installation is divided into: self-leveling installation and floor installation. Floor installation is further divided into: glue applying and tape linking. Self-leveling installation is carried out before floor installation. And apply glue is suitable for kindergarten floors and commercial floors.
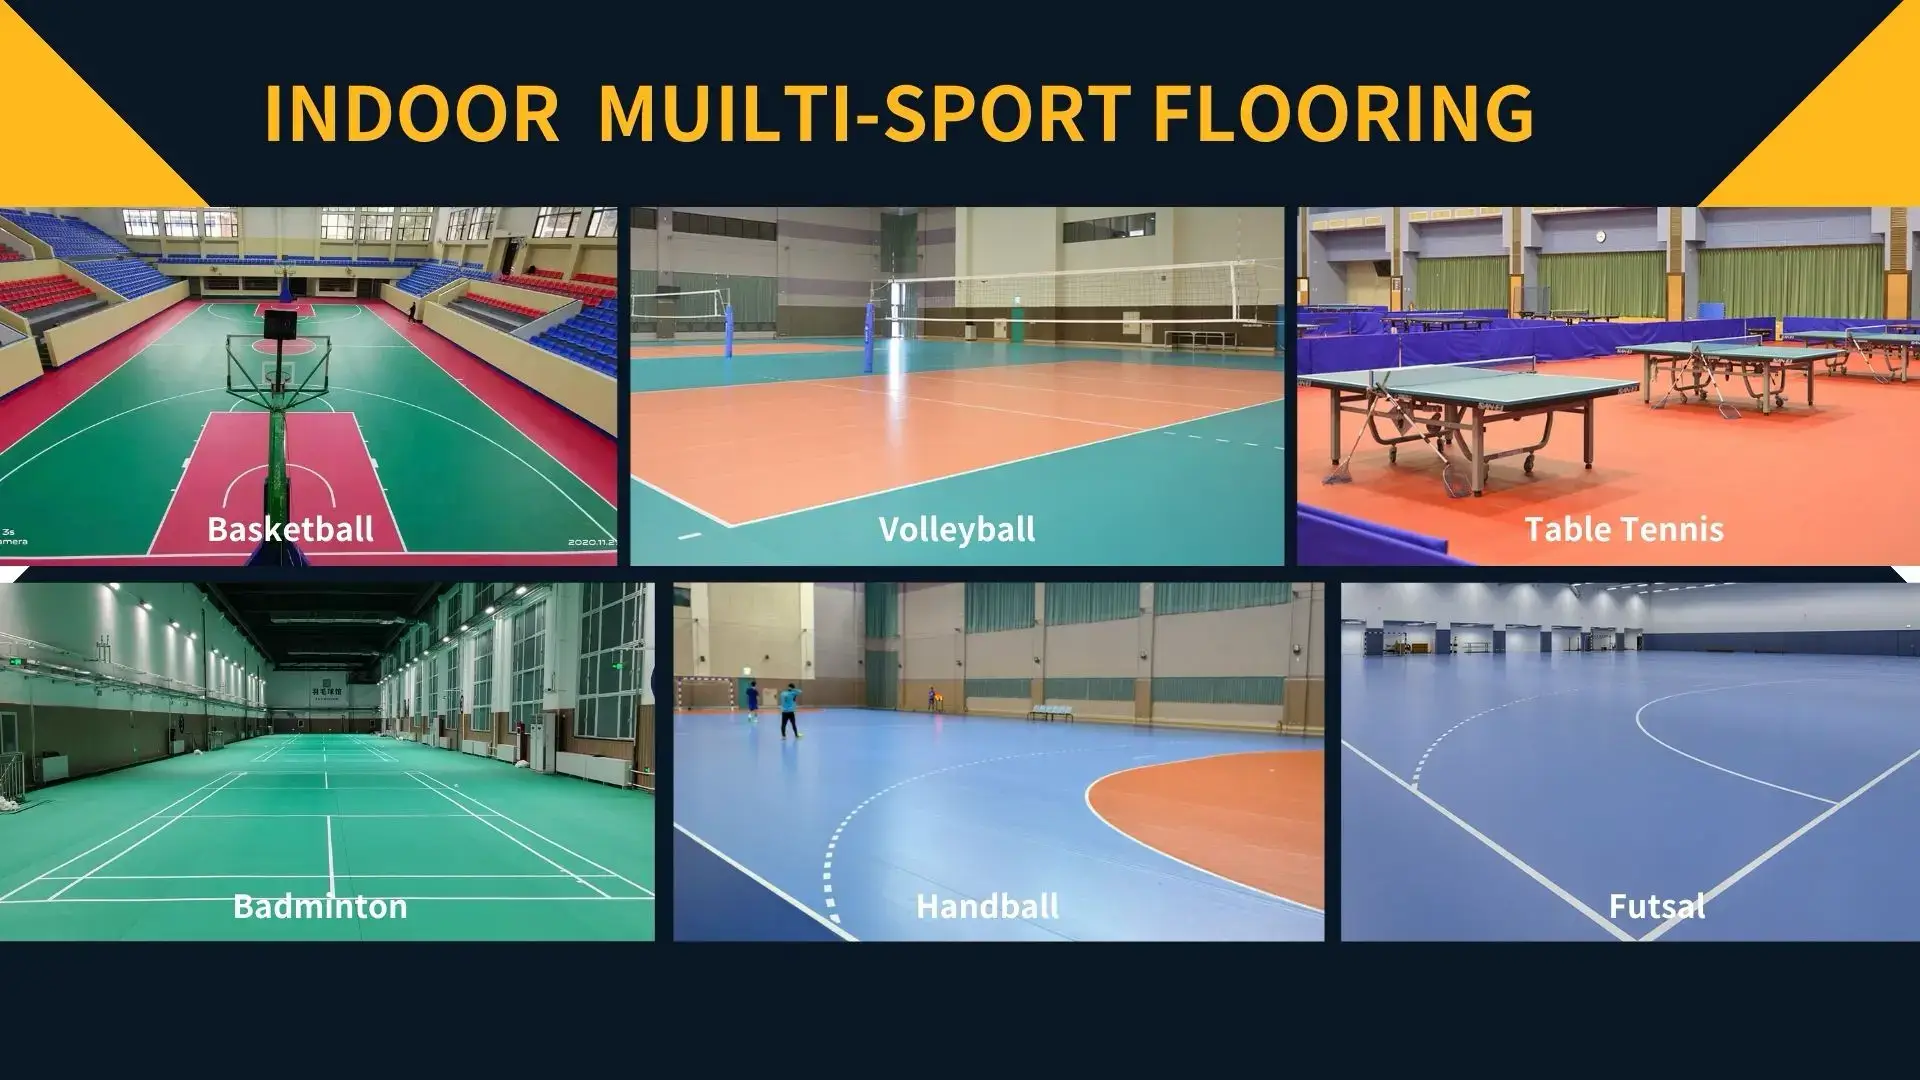
In a word. Tape linking is suitable for sports floors and dance floors. Glue paving is divided into roll paving and sheet paving.
About floor installation
The following only introduces roll flooring.
Step 1: Pre-installation.
Requirements: The ground must be solid, dust-free, clean and dry, the height difference within 2 meters should be within 2 mm, or it must be polished, clean and self-leveling.
Material: pvc floor (with roll number).
Method: Align and lay according to roll number, pre-laying for over 24 hours.

Step 2: Apply the glue.
Requirements: Pre-laid floors.
Tools: Special scraper.
Material: special glue for pvc floor.
Method: Roll up half of the floor, pour an appropriate amount of glue on the ground, and scrape it evenly with a scraper.

Step 3: Laying.
Requirements: The glue does not stick to your hands (about 20 minutes after scraping the glue).
Tools: Cork board.
Method: After the glue is no longer sticky to your hands, roll out the rolled floor and use a cork board to smooth it out and push it firmly. After paving, roll up the other half and lay the scraper.

Step 4: Trimming.
Requirements: The floor installation is completed.
Tools: Steel ruler, hook knife or wallpaper knife.
Method: After pressing the steel ruler on the excess corners, use a hook knife or wallpaper knife to cut off.
Finally, clean up the scene.

Requirements: Paving and trimming completed.


From the initial step of ensuring a pristine surface to the slotted connection, every step is essential. The versatility offered, whether through self-leveling or glue application, caters to a wide range of spaces – be it the lively environments of kindergartens or the bustling commercial floors. The emphasis on efficiency and durability, combined with Laikeman’s commitment to innovation, culminates in a flooring solution that not only elevates the aesthetics of a space but also guarantees long-lasting performance.