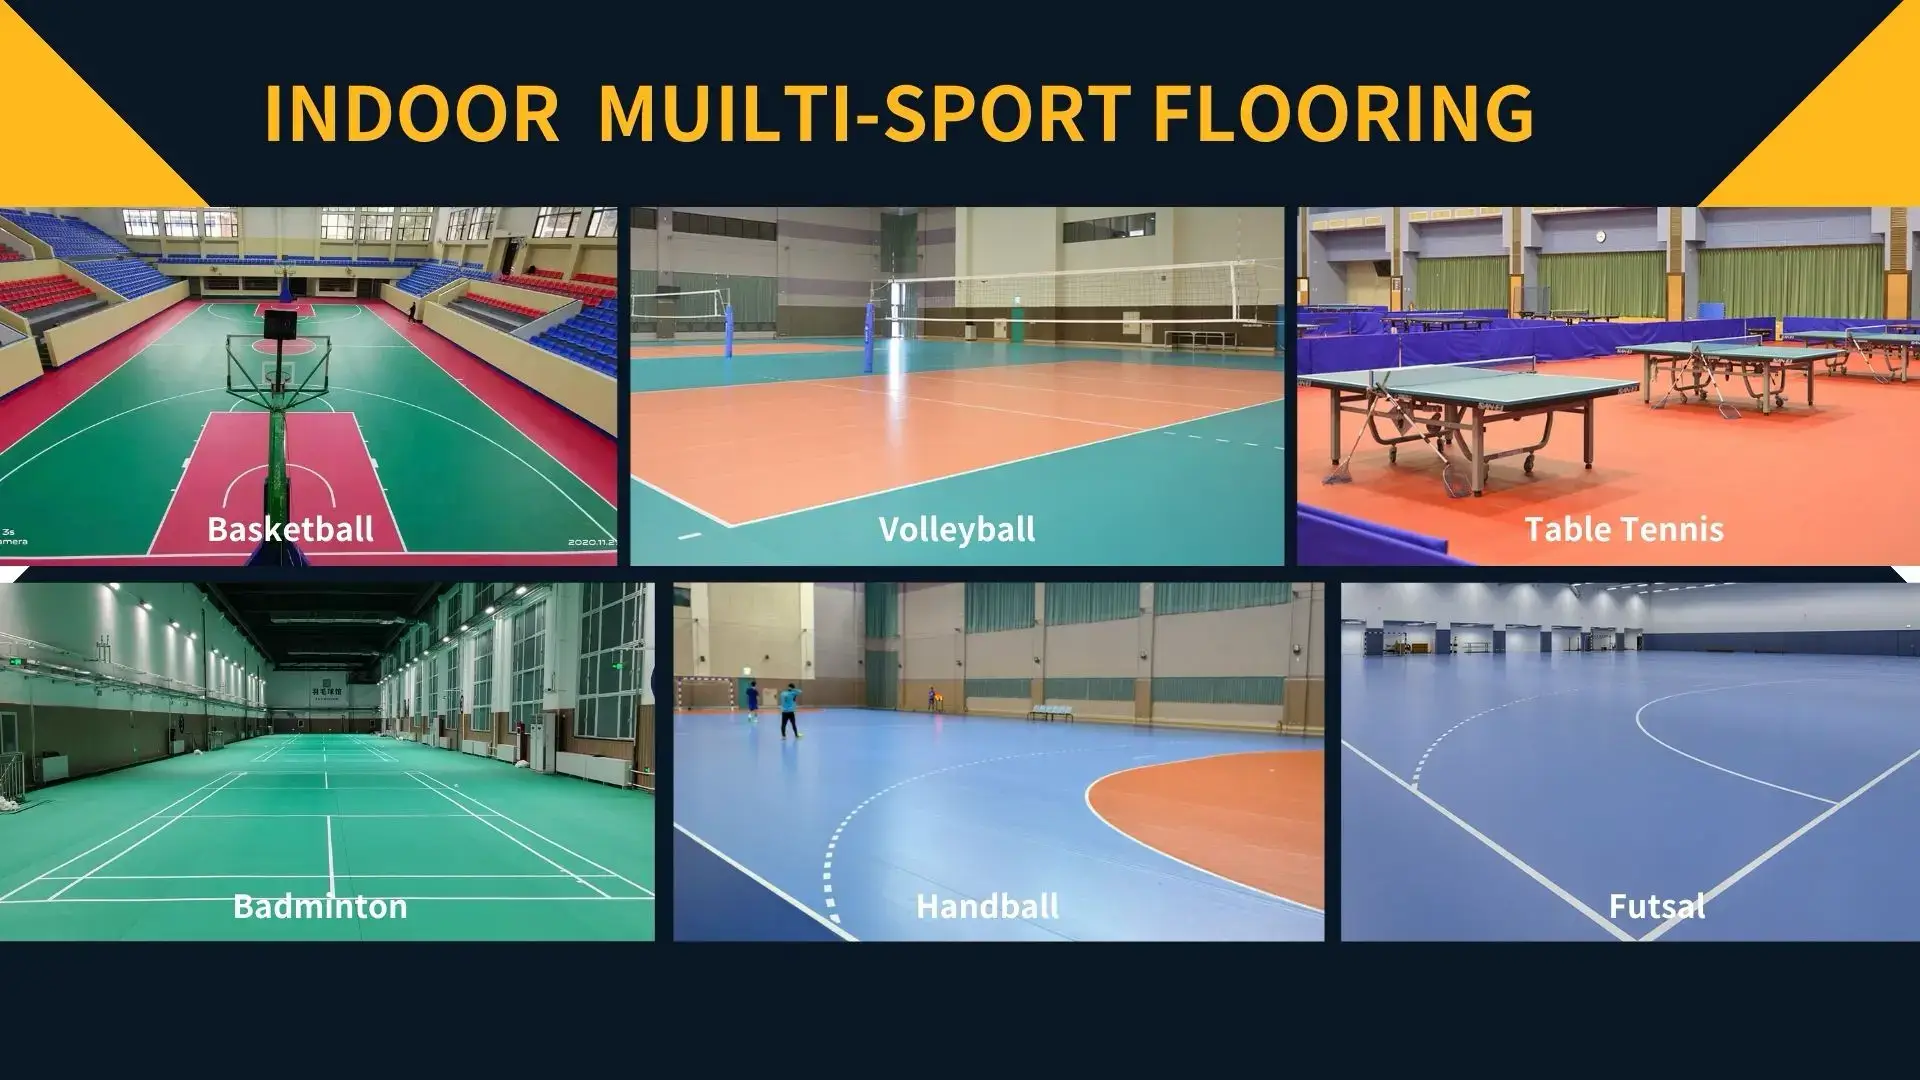


OVERVIEW
When it comes to spaces that aren’t expansive or require portable solutions, the installation of vinyl flooring becomes a remarkably straightforward task. Specifically designed for such purposes, using specialized double-sided adhesive tape facilitates a simple and convenient installation process.
This article primarily focuses on elucidating the procedure for installing portable sports flooring, tailored for activities like badminton and pickleball courts, utilizing double-sided adhesive tape. Whether it’s a small area or a need for mobility, this method offers a practical and efficient solution for setting up these sports floors.
Check before installation, the quality of the delivered product. If the product is defective, contact Laikeman Flooring. If installation is in process, it shall be stopped on the day the defect is noticed otherwise the Warranty shall not apply.
INSTALLATION
For most of our vinyl flooring roll, the dimensions: 1.8/2.0 x 15/20 m
The surface of badminton or Pickleball court, is supplied as 4/5 rolls including the game lines( draw if in advance or draw if after installation depends on your supplier).
1.FLATTENING THE ROLLS (1 DAY PRIOR TO INSTALLATION IS RECOMMENDED)
AS SOON AS YOU RECEIVE THE ROLLS, PLEASE:
- Remove the rolls from their packaging.
- Place the rolls next to each other.
- KEEP the packaging, this will be reused when the surface is uplifted and removed.
- Ambient temperature is no less than 15℃
2.LAYING THE ROLLS
After laying out the guidelines, the rolls will be laid according to the layout drawing edge-to-edge leaving no gaps between them.
3.FIXING THE ROLLS
We recommend using Laikeman double-sided tape; stretch the rolls manually and fix to the tape.
ATTENTION: If the surface is to be fixed on lacquered parquet, ensure beforehand that the quality of the lacquer (adhesion) is good. If the substrate has advertising logos or adhesive-taped game lines, there is a potential risk of damaging these logos or lines.
3.1 WIDTHWISE:
- Apply one row of double-sided adhesive tape at each end of the court.
- Fix one of the back edges on to the adhesive tape.
- Stretch the rolls and before fixing them and align the edge lines on the opposite end.
3.2 LENGTHWISE:
- Apply the tape on the 2 lengths
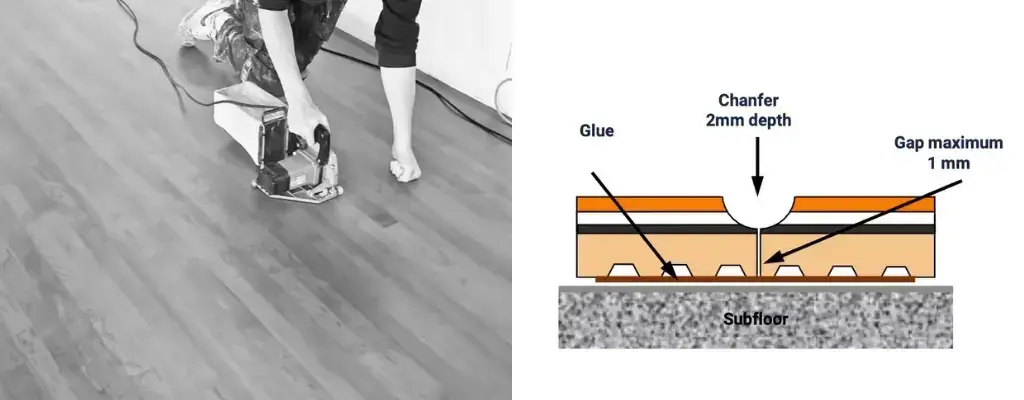
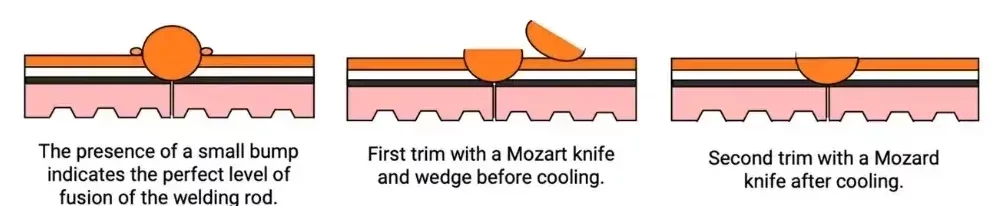
4. WELDING
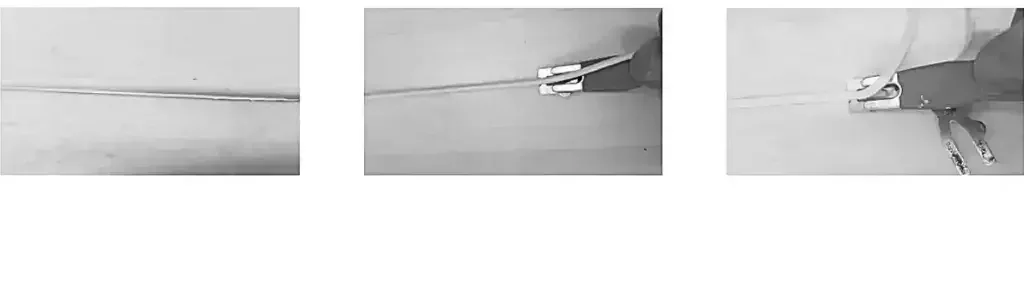
The grooving:
This operation should be performed by using an electric tool with a “U” shaped blade as described, for 4 mm diameter welding rod, the width of mill must be 3.3mm and the maximum depth must be 2mm.
The welding:
We strongly recommend, for this operation, an automatic cart (Leister or similar), which will produce more regular, professional quality welds.
Before welding floor, first of all, try to weld on an apart piece of product, in order to check that the temperature and the speed of this material enables to perform a good welding conditions.
To obtain an optimal result, we recommend to set the temperature on 450°C(, speed: 2m/min.
5. CLEANING THE SURFACE
Clean the surface with Traciflex or Dynatech diluted to 5% maximum; use a rotocleaner or an automatic scrubber fitted with a red pad or a brush for flexible floors.
- Use very little water.
- Rinse with clean water several times.